How to Create Charges
Learn how to efficiently create and manage charges for residents in Power Admin. This guide covers step-by-step instructions to set up charges, customize details, and ensure accurate billing for your community.
Main Menu Options
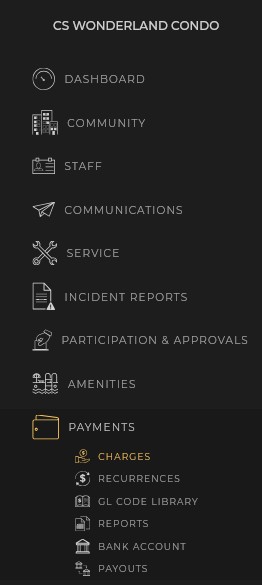
After logging into Power Admin, locate Payments on the left menu. Hover over it to reveal the following options:
Charges
Recurrences
GL Code Library
Reports
Bank Account
Payouts
Create Charges
Accessing the Payment Module
Click on Charges in the menu.

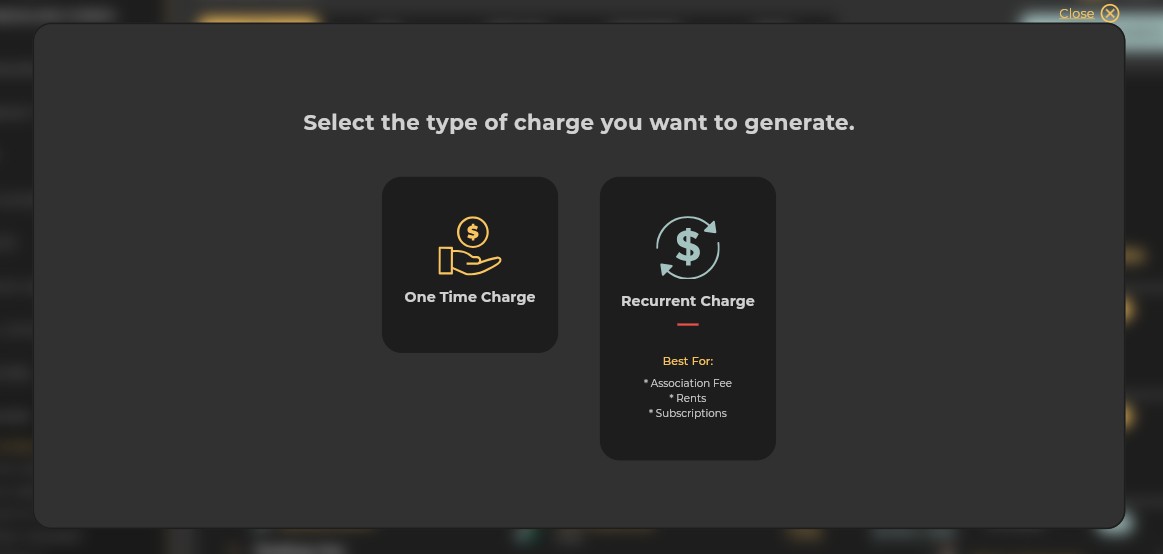
Option 1: One Time Charges
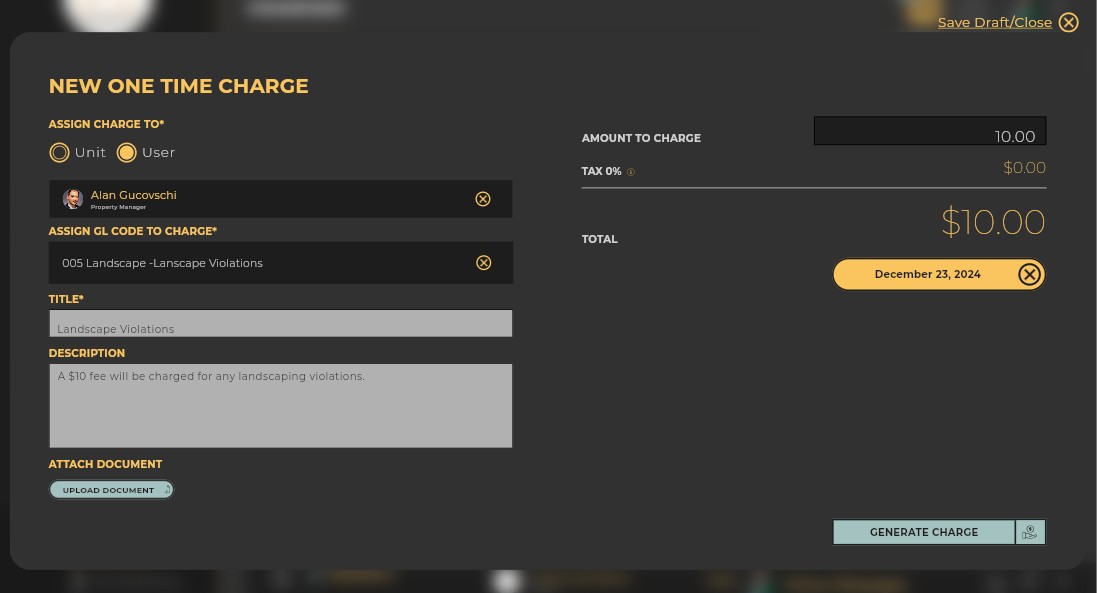
Click One Time Charges.
Fill in the required fields:
Assign Charge To: Choose either:
Unit: Select the unit from the drop-down menu. This means that any person associated with the unit will be able to complete the payment.
User: Select the user from the drop-down menu. Only this one individual will be able to complete the payment transaction.
Assign GL Code to Charge: Select the appropriate GL Code.
Title: Enter the title.
Description: Enter a description.
Attach Document: Upload any relevant documentation.
Amount to Charge: Enter the amount.
Due Date: Select the due date and click Done.
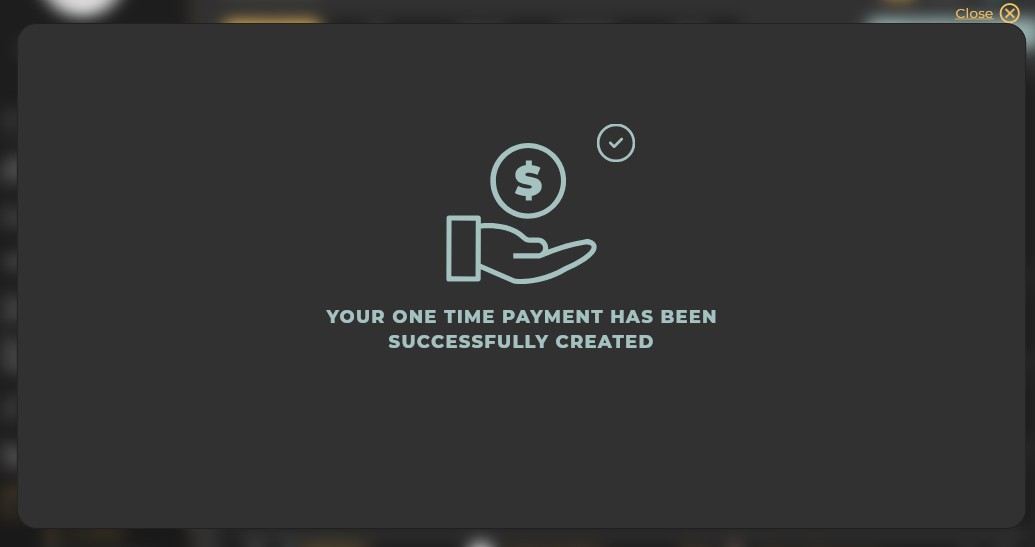
Once completed, click Generate Charge.
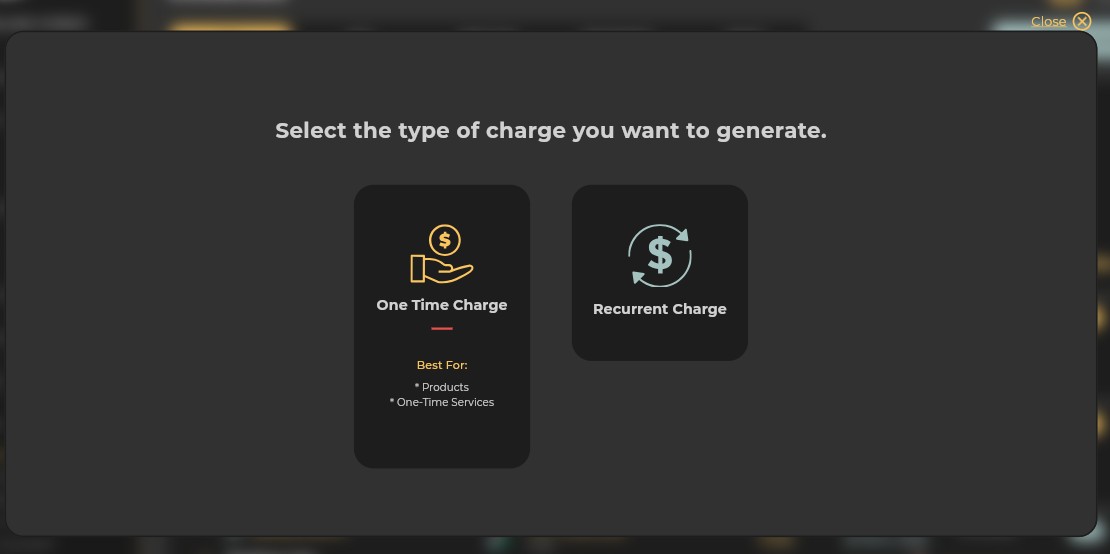
Option 2: Recurring Charges
Click Recurring Charges.
Fill in the required fields:
Assign Charge To: Choose either:
Unit: Select the unit from the drop-down menu.
User: Select the user from the drop-down menu.
Assign GL Code to Charge: Select the GL Code.
Title: Enter the title.
Description: Enter the description.
Attach Document: Upload any relevant document.
Amount to Charge: Enter the amount.
Charges Repeat: Select the frequency (Daily, Weekly, Monthly, or Yearly). Then, choose how often (e.g., Every 2 months, Every 4 months).
Each: Select a specific day (e.g., the 3rd of each month).
Charges Stop: Choose one of the following:
Never: Charges will continue indefinitely.
On (Date): Choose an end date from the calendar.
Number of Payments: Select the number of times this charge will occur.
First Due Date: Select when the first payment should be made.

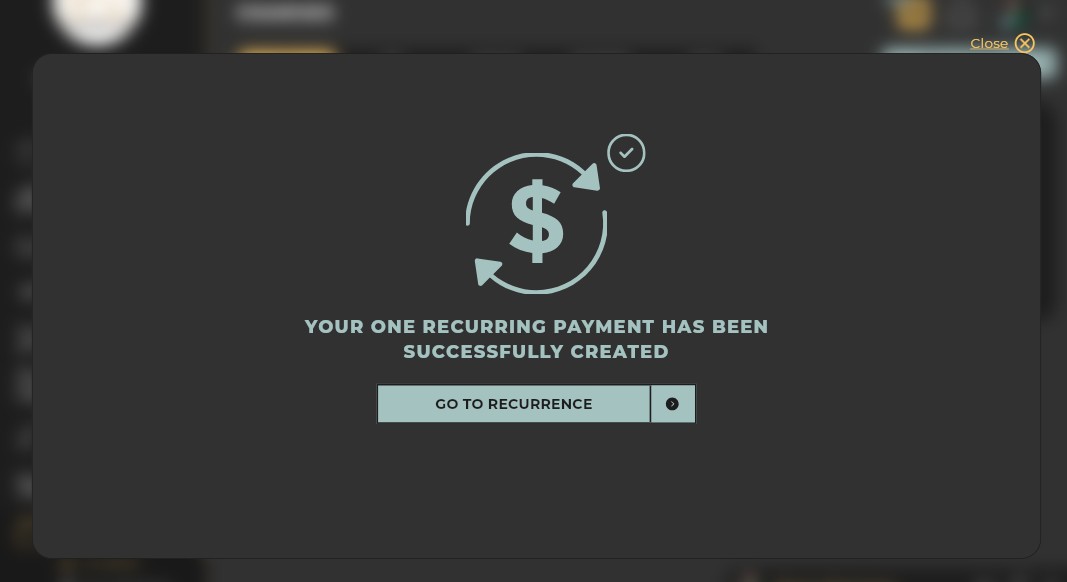
Once completed, click Generate Charge.
